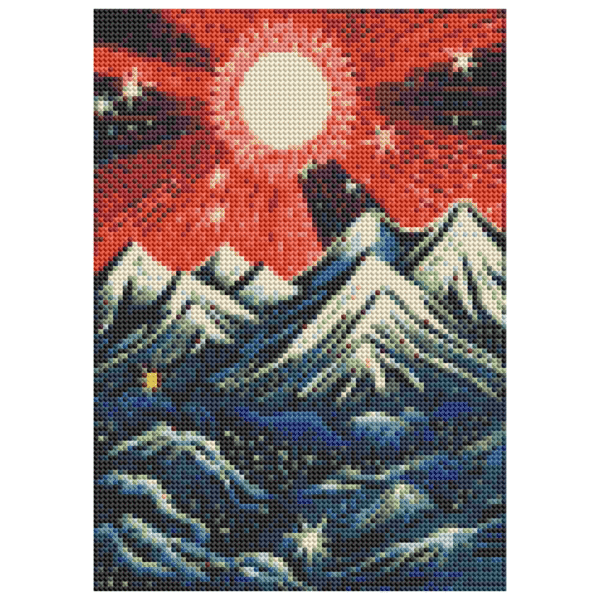
You bought your first kit — now what? This hands-on tutorial walks you through exactly how to do diamond painting from opening the box to admiring your finished sparkle. Follow these steps and you will be placing drills like a pro in an afternoon.
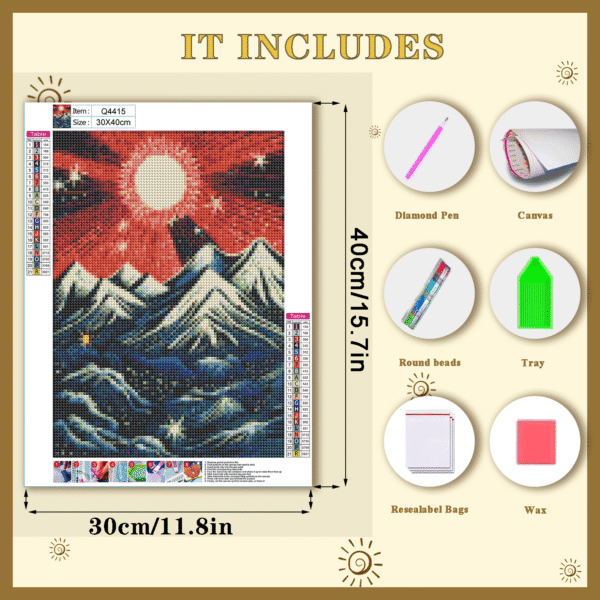
Your DOTZSO kit comes with everything needed — let's get started.
Step 1: Set Up Your Workspace
Choose a flat, well-lit surface. Lay the canvas flat and weigh down the corners if it curls. Good lighting (daylight or a desk lamp) reduces eye strain and helps you read symbols.
Step 2: Understand the Canvas & Labels
Your canvas is divided into a grid. Each cell has a symbol and a number that maps to a diamond color code (e.g., D121). The pack includes labeled bags — keep them in order so you are never hunting for a color.
Step 3: Prep the Pen & Wax
Press the pen tip into the wax pad so it can pick up diamonds. For round drills, the standard tip works; some kits include a multi-placer tip to place 3–6 diamonds at once for big background areas.
The wax-tipped pen picks up each diamond with precision.
Step 4: Pour & Shake
Pour a small pile of one color into the tray and tap gently so the diamonds settle face-up. Work one color at a time to stay organized.
Step 5: Place the Diamonds
Pick up a diamond with the pen, check the symbol, and press it onto the matching square. The adhesive holds it instantly. Use the provided straightener or a credit card to nudge rows into alignment as you go.
Step 6: Work in Sections
Peel the clear film back only over the area you are working to keep the rest sticky. Completing one small zone at a time keeps momentum and prevents dust on the adhesive.
Working in small sections keeps the adhesive fresh and your rows straight.
Step 7: Finish & Protect
Once complete, roll a rolling pin or book over the surface to set the drills. Many crafters seal their finished piece (see our upcoming guide) and frame it. Browse Kit Lukisan Seni Berlian untuk Dewasa to choose your next project.
Beginner Mistakes to Avoid
Peeling the whole film at once (dust + lost stickiness).
Skipping the wax refill when pickup weakens.
Rushing rows without aligning — fix early, not later.
Losing diamond codes — keep bags clipped and labeled.
Frequently Asked Questions
Q: Do I need special tools?
A: Just the kit contents. Optional upgrades: light pad, organizer boxes, and a multi-placer tip.
Q: Why won't the diamonds stick?
A: The wax tip is likely depleted, or the film was peeled too early and gathered dust. Re-wax and work in small sections.
Q: Can I fix a misplaced diamond?
A: Yes — gently lift it with the pen tip or tweezers and reposition.
Selamat datang di Diamond Dotzso! Situs baru, kit baru! Desain terbatas baru saja diluncurkan!
Belanjakan $75 dan Kami Akan Mengirimkannya Gratis! Kami hanya mengirimkan ke AS & Kanada
Kami menggunakan cookie untuk meningkatkan pengalaman Anda di situs web kami. Dengan menjelajahi situs web ini, Anda menyetujui penggunaan cookie kami.