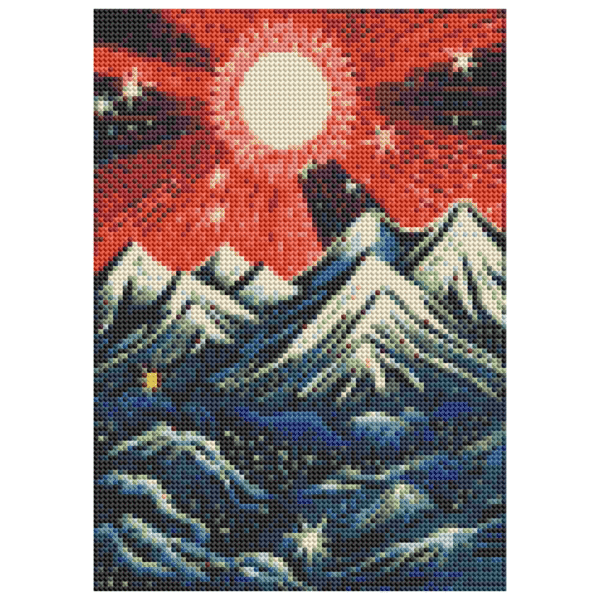
A few small habits separate a frustrating first kit from a frame-worthy masterpiece. These ten diamond painting tips will save you time, protect your drills, and make the whole process more enjoyable.
A well-organized workspace is the secret to a smooth diamond painting session.
Tip 1: Sort as you go
Keep diamond bags in a labeled storage box. Refill small containers per session so you are never digging through piles.
Tip 2: Use a light pad
A USB light pad under the canvas makes symbols pop and saves your eyes during long sessions.
Tip 3: Work in zones
Peel the film back only over your active area to keep adhesive fresh and dust-free.
Tip 4: Multi-placer for backgrounds
Use the 3–6 drill tip on large single-color areas to fly through skies and backgrounds.
Tip 5: Straighten with a ruler
After a row, press a ruler or card along it to keep drills perfectly aligned.
Tip 6: Re-wax often
When pickup weakens, re-press the pen into the wax. A tired tip drops drills constantly.
Tip 7: Flatten curled canvases
Roll the canvas opposite the curl or weigh the corners overnight before starting.
Tip 8: Store drills safely
Reseal bags and keep spare drills — you will want them for repairs or custom frames.
Tip 9: Set with a rolling pin
Once done, roll firm pressure over the surface so every drill locks in.
Tip 10: Seal for longevity
Apply a clear sealant if the piece will be handled or displayed long-term.
Straight rows make a huge difference — use a ruler or card after each section.