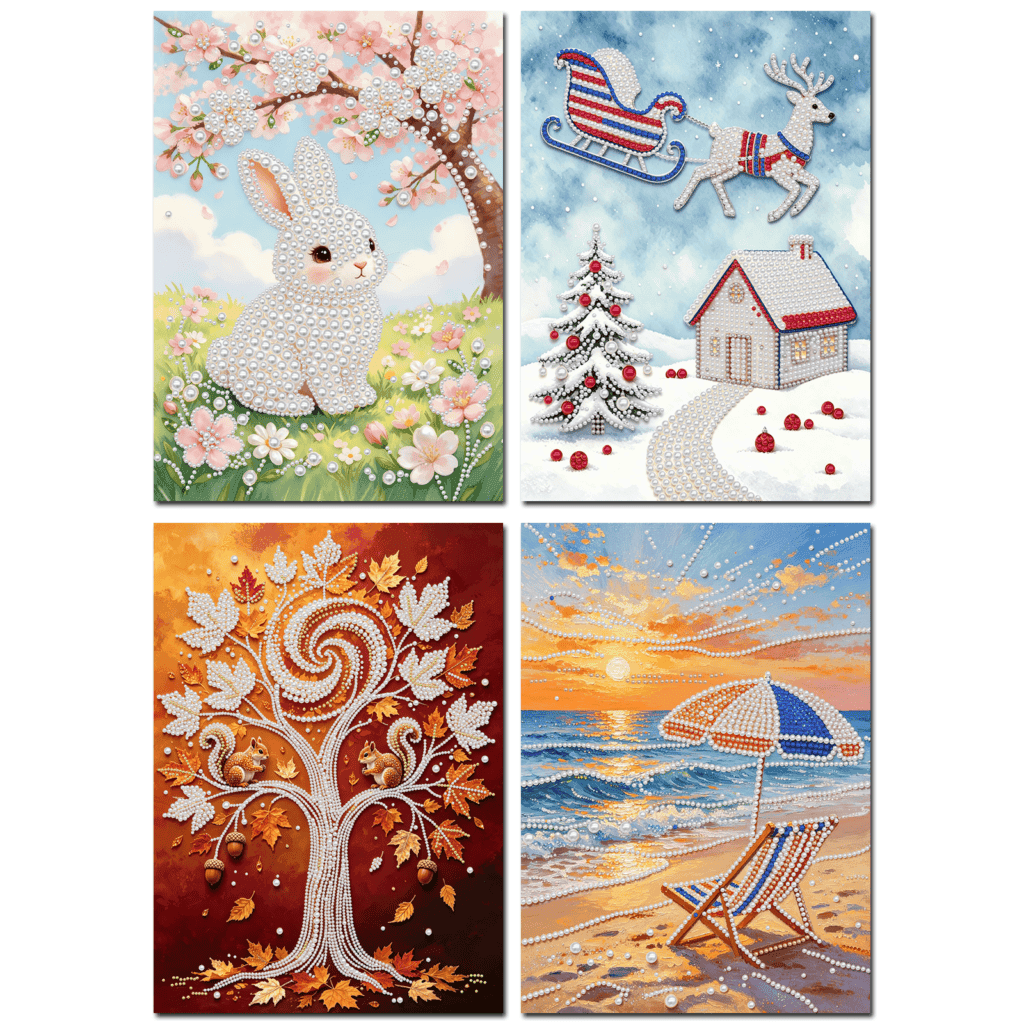
There is a moment every December when the tree is up, the lights are strung, and the room still feels one small detail short of finished. Store-bought baubles are fine, but they rarely mean anything. That is why so many crafters have started making their own Christmas diamond painting ornaments — small, sparkling pieces that take an evening or two to finish and then come back out of the storage box year after year.
Ornaments are the friendliest entry point into diamond art. They are small enough to finish before the season gets busy, cheap enough to make a whole set, and personal enough to become the thing your family argues over when the tree comes down. This guide covers why they work, how a hanging pendant kit differs from a framed picture, what arrives in the box, and how to finish your first one without the usual beginner frustrations.
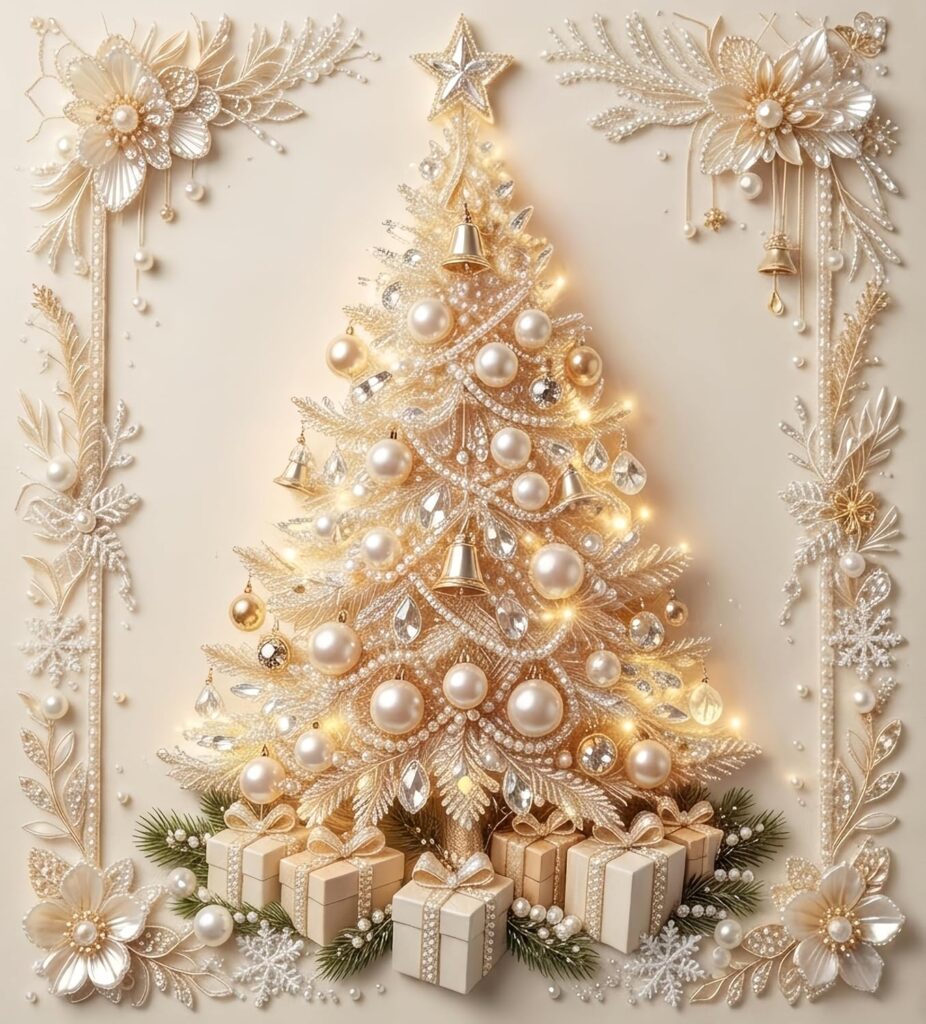
A diamond art ornament does something a plastic bauble cannot: it catches light from every angle. The resin drills are faceted, so a single tree light turns into dozens of tiny reflections across the surface. On a real tree, surrounded by warm bulbs, that effect is far stronger than it looks in a product photo.
Christmas diamond painting ornaments also solve a practical problem. Full-size canvases are a commitment — beautiful, but not something you finish in a weekend. An ornament-sized piece gives you the same meditative rhythm, the same satisfying click of each drill into place, and an actual finished object by the end of the evening.
There is a second reason they have become popular: they scale. One ornament looks charming. Six, made in a matching palette — a tree, a reindeer, a snowman, a bird — start to look like a collection you chose on purpose. Crafters often make a set in November and gift them individually in December.
And unlike many seasonal crafts, these do not expire. Finished ornaments pack flat, weigh almost nothing, and survive being boxed up far better than dried citrus garlands or salt dough.
Both formats use the same basic technique, but they suit different goals and different amounts of free time. Here is how they compare.
| Hanging ornament / pendant | Framed pearl diamond art | Large unframed canvas | |
|---|---|---|---|
| Typical finish time | 1–3 evenings | 3–6 evenings | 1–3 weeks |
| Finished size | Small, palm-sized | Small to medium, ready to display | Medium to large |
| Display | Tree, window, gift tag, garland | Shelf, mantel, wall, desk | Wall (framing needed) |
| Gifting | Easy to mail, easy to make in sets | Ready to wrap as-is | Bulky, usually framed first |
| Best for | Beginners, families, ornament swaps | Gift-givers who want instant display | Crafters who want a centerpiece |
If your goal is diamond painting christmas tree decorations you can hang this year, start with ornaments. If you want one statement piece for the mantel, a framed kit makes more sense — it arrives ready to display, so there is no trip to the frame shop in the middle of December. And if you already love the craft and want something to lose yourself in for a few weeks, a larger unframed canvas is the classic choice.
A reasonable plan: make one framed piece as the focal point of the room, then add four to six ornaments to carry the same palette around the tree.
Kit contents vary a little by design, but a standard hanging pendant kit includes everything except the ribbon or hook you hang it with:
Worth knowing before you buy: these are usually partial-drill designs. Only the focal areas of the illustration get drills; the rest of the printed artwork stays visible. That is deliberate. It keeps the piece light enough to hang on a branch, and it means far fewer drills to place. If you were expecting a fully covered surface, you will be pleasantly surprised by how much faster it goes.
The Christmas pendant designs — a Christmas Tree diamond painting hanging pendant, a snowman hanging pendant, plus other seasonal motifs such as reindeer, owls and birds — share the same circular format, so a mixed set looks intentional rather than random.
Learning how to make diamond painting ornaments is mostly a matter of rhythm, and it is easier than it looks. If you have never placed a drill before, this is the whole process. Set aside about ninety minutes for your first ornament.
1. Set up a flat, well-lit surface. Diamond art is a close-up task. A lamp to one side, a flat table, and something to rest your wrists on will save you a stiff neck later.
2. Unroll the canvas and find the colour key. Every symbol on the canvas matches a drill colour in the key. Take thirty seconds to read it before you touch anything — most beginner mistakes come from guessing which symbol is which.
3. Pour one colour into the tray. Only one. Shake it gently so the drills settle flat-side down, then leave a few loose rather than packed tight, so the pen can lift a single one cleanly.
4. Load the pen. Press the tip straight down into the wax pad, then touch it to the flat side of a drill. The drill should lift with a slight click.
5. Place the drill on its matching symbol. Lower the pen straight down — not at an angle — and press lightly. The adhesive canvas holds it. Do not push hard; you only need contact.
6. Work colour by colour, not area by area. This is the single biggest time-saver. Finishing all of one colour keeps you in the same tray, the same motion, and the same mental rhythm, instead of opening and closing a dozen bags per section.
7. Keep the protective film on. Peel it back only over the strip you are currently working on. Canvas adhesive picks up dust and lint, and a covered canvas stays tacky for weeks.
8. Press and seal when finished. Lay the piece face-down under a clean cloth and press firmly across the back, or run a light roller over the surface. This seats every drill fully. If your kit will hang in a sunny window or on a live tree, a thin coat of clear sealer also keeps dust off the facets.
9. Add your hanging loop. Thread ribbon, twine, or a small ornament hook through the hole or loop at the top. Ribbon reads softer on a tree; a fine metal hook almost disappears against the branches.
Two habits worth building early: cap the wax pad when you are not using it, and keep a lint roller nearby. Both prevent the slow annoyance of drills that will not stick.
Finished ornaments are far more versatile than the name suggests. A few practical ideas:
| Idea | How to do it | Why it works |
|---|---|---|
| Full-tree set | Make 6–10 in one palette, hang evenly | Reads as a deliberate collection, not clutter |
| Window suncatcher | Hang on suction hooks in a sunny window | Drills catch daylight and throw colour into the room |
| Gift tag | Tie a small one onto a wrapped parcel | The tag becomes part of the gift |
| Garland or mantel accent | Space them along twine over a mantel | Fills wall space without frames or nails |
| Advent-style countdown | Wrap 24 small pieces, open one a day | Turns the craft into a family ritual |
For gifting, the honest advice is to finish it first. A completed ornament in a small box reads as a present; a kit in a box reads as homework — lovely homework, but homework. If you are gifting to a crafter, the opposite is true, and a kit is exactly what they want.
Teachers, neighbours, and ornament-swap groups are the easiest wins. These are small, flat, and light, which makes them genuinely cheap to mail — a padded envelope handles it.
How long does one ornament take to finish? Most pendant designs take one to three evenings of relaxed work. Partial-drill layouts are considerably faster than a fully covered canvas of the same size.
Do I need any tools that are not in the kit? No. Canvas, drills, pen, wax, and tray are included. Nice-to-have extras are a small tray with a lid, a lint roller, and a roller or book for the final press.
Are these suitable for children? With supervision, yes — the motion is simple and satisfying. The drills are small, so they are not appropriate for very young children who still put things in their mouths. Older kids and teens usually do fine and often get hooked.
What is a partial-drill design? Only selected areas of the artwork receive drills, while the rest of the printed illustration stays visible. It keeps the piece light, speeds up the project, and gives the finished ornament a layered, illustrated look.
How do I clean a finished ornament? Dust it with a soft, dry brush or a can of compressed air. Avoid water and household sprays on the drills, since moisture dulls the facets and can weaken the adhesive underneath.
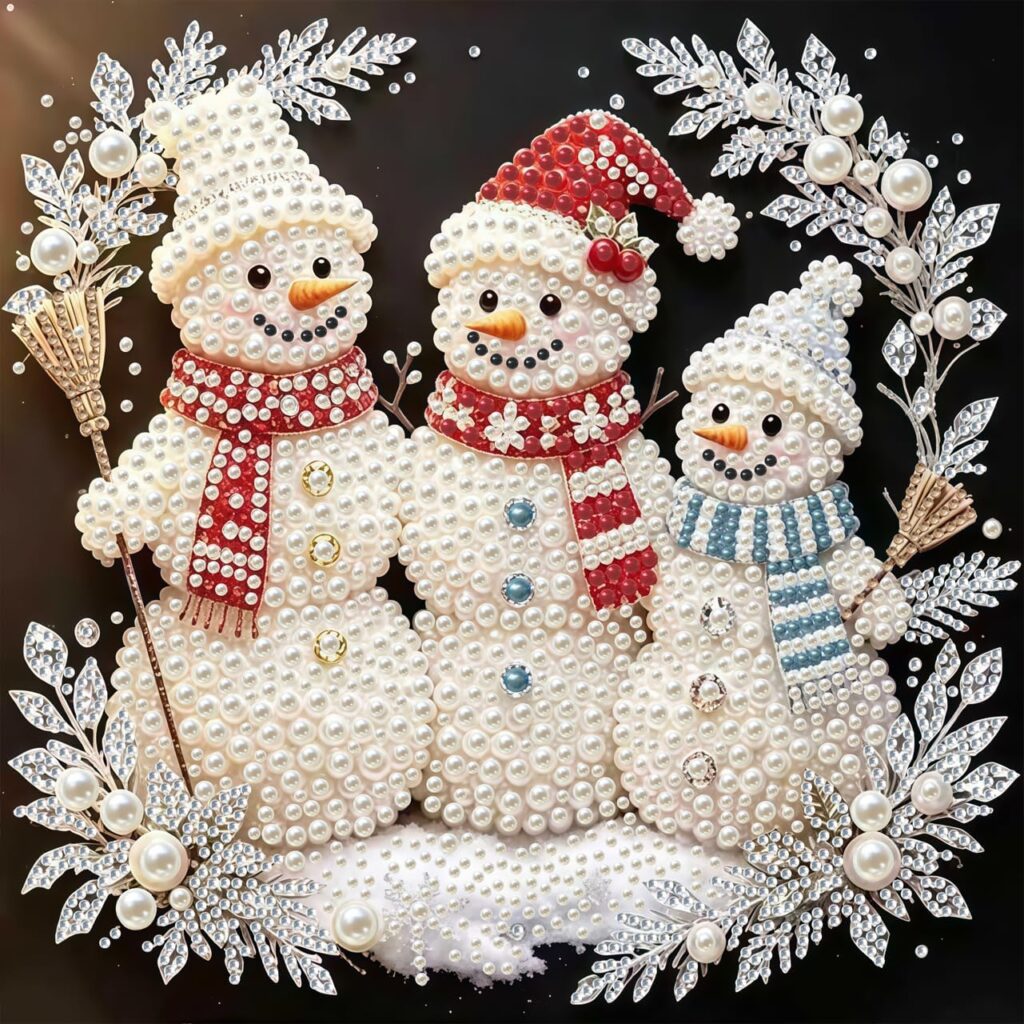
Can I make a larger framed piece to match? Yes, and the palette carries over nicely. A framed Christmas snowman pearl diamond painting kit gives you a ready-to-display mantel piece, while an unframed Santa Claus pearl diamond painting kit offers a bigger canvas to frame yourself.
When should I start to have them ready for Christmas? Early November is comfortable. Ornaments are quick, but making a full set takes several sessions, and shipping windows get tight in December.
Pick one design, clear an evening, and make a single ornament before you commit to a set. That first finished piece tells you everything you need to know — whether you like the rhythm, which colours you enjoy, and how many you realistically want to make.
Browse the full Christmas diamond art collection to mix pendants, framed kits, and larger canvases in one palette. Start now and your tree will be the one guests ask about.