If you have spent any time on Pinterest lately, you have seen those shimmering holiday pictures that look like cross-stitch but sparkle like glitter. That craft is christmas diamond painting, and it is one of the few seasonal projects where a complete beginner can finish something genuinely display-worthy in a weekend.
The photos make it look harder than it is. There is no drawing, no color mixing, and no drying time. You pick up a tiny bead, press it onto a sticky, color-coded canvas, and repeat. That is the entire skill.
This guide is for anyone who has never opened a kit. We will cover what comes in the box, how to keep the adhesive fresh, the step-by-step method experienced crafters use, how to choose a first kit without getting overwhelmed, and what to do with the finished piece.
Diamond painting sits somewhere between paint-by-numbers and mosaic work. You get a printed canvas covered with a clear film and a light adhesive layer beneath it. The design is printed with small symbols, and every symbol matches a specific bead color on a legend sheet.
You match symbol to bead and place each one with a small applicator pen. When thousands of tiny facets sit side by side, they catch the light together and the picture reads as artwork rather than a grid of dots.
A christmas diamond painting kit applies that technique to seasonal imagery — Santa, snowmen, reindeer, village churches, Christmas trees. Two things make the holiday versions forgiving for newcomers:
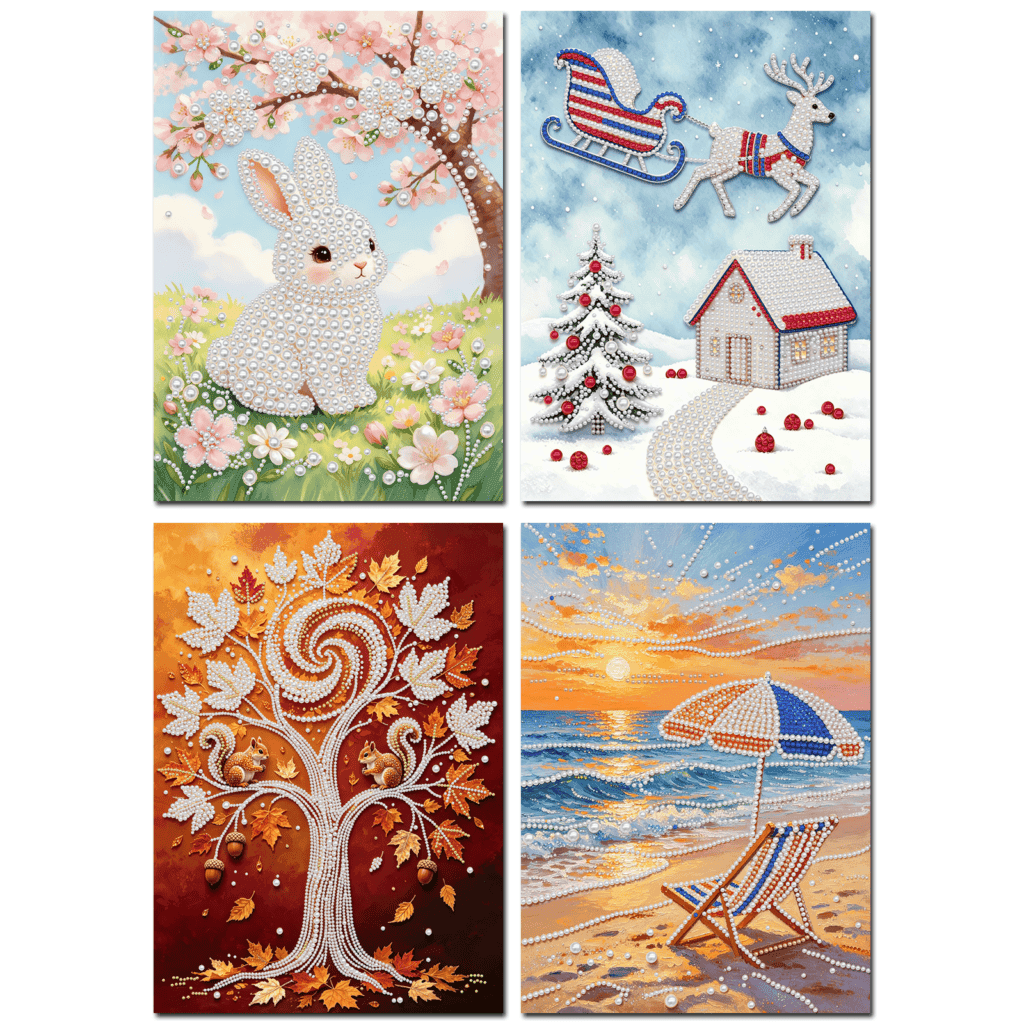
There is one variation worth knowing about. Pearl diamond painting swaps flat resin drills for rounded pearl beads, often in mixed sizes, giving a softer, slightly raised glow — closer to frost on a window than to flat glitter. Pearl beads sit differently on the canvas, which we will cover in the steps below.
Plenty of crafts claim to be beginner-friendly and then quietly demand skills you do not have. This one genuinely does not:
Because the finished pieces are seasonal, there is also a natural deadline. A vague “someday” project tends to stall; a project that needs to be on the wall before the tree goes up tends to get finished.
Kits vary slightly between brands, but a well-assembled beginner kit contains everything you need to start the same afternoon.
| Component | What It Does | Beginner Tip |
|---|---|---|
| Printed adhesive canvas | The base; symbols show where each bead goes | Lay it flat under a book for an hour first |
| Beads (sorted by color) | The “paint”; resin facets or pearl beads | Keep them in labeled bags until used |
| Applicator pen | Picks up one bead at a time | Press straight down on the bead’s flat side |
| Wax or sticky pad | Gives the pen tip its grip | Recharge the tip when beads stop lifting |
| Bead tray | Holds a working color | A gentle shake flips most beads right-side up |
| Tweezers | Corrections and tight corners | Best tool for mixed-size pearl beads |
| Frame (in framed kits) | Hang the piece with no extra work | Check whether the frame ships assembled |
| Legend / color chart | Maps symbols to bead codes | Photocopy it if you fold it often |
If a kit does not include the pen, wax, and tray, you will end up buying tools separately. For a first project, buy a complete kit.
This is the method most crafters settle on after a kit or two. Follow it in order and you will avoid the two classic beginner problems: adhesive that dries out, and beads that end up crooked.
1. Set up a flat, well-lit workspace. A dining table works better than a couch. Good light matters because you are reading small symbols. Keep tape or a lint roller nearby — dust and pet hair are the main enemies of a sticky canvas.
2. Unroll and flatten the canvas. If it arrived rolled, place something flat and heavy over it for thirty to sixty minutes. A curling canvas is annoying to work on and can lift beads at the edges.
3. Read the legend before opening a bead. Find the symbol for your starting color and its bag code. Doing this once, calmly, saves confusion later.
4. Peel the film gradually. This is the most important habit. Never remove the whole protective sheet at once — exposed adhesive collects dust and slowly loses tack. Peel back only the block you will finish this session, and press the film down again when you stop.
5. Load the pen and work in rows. Dip the tip in wax, press it onto a bead’s flat side, and set the bead on its matching symbol. Finish one color across a section before switching, so you handle each bag less.
6. Adjust for pearl beads. Mixed-size kits behave differently: larger pearls often need tweezers and a firm, even press so they sit level with their neighbors. Place the larger beads first and fill gaps with smaller ones.
7. Straighten as you go. Every few rows, lay a ruler gently across the canvas and nudge stray beads into alignment. Fixing alignment at the end means pressing hundreds of set beads one by one.
8. Press and seal. Once every symbol is covered, place the canvas face down under a clean cloth and press firmly, or run a rolling pin across it. Many crafters then add a thin sealant — worth doing if the piece will hang somewhere with temperature swings.
9. Frame and hang. Framed kits go straight to the wall. Unframed canvases drop into a standard frame of the same size.
Not every kit is equally friendly to a first-timer. Weigh these four factors more heavily than the preview image.
Size. A compact canvas — roughly 12 x 12 inches — is the sweet spot for a first project. It is large enough to look like real art and small enough to finish before motivation dips. Skip enormous multi-panel designs until you have finished one piece.
Bead type. Standard resin drills are uniform and fast. Pearl beads give a softer, more dimensional finish, but mixed sizes mean slightly more decision-making per bead. Both suit beginners; pearl kits reward patience with a richer look.
Framed versus unframed. A kit that ships with a frame removes a whole step at the end and makes the piece instantly giftable. If you dislike mounting hardware, choose framed.
Symbol clarity. Look for listings that mention clear printing or a color chart. Fuzzy symbols are the most common beginner complaint, and they are invisible in a product photo.
Here is how to match a kit to what you actually want:
| If you want… | Look for… | A kit to consider |
|---|---|---|
| A classic Santa scene, ready to hang | Framed canvas, high-contrast palette | Christmas Pearl Diamond Painting Art Kit — Santa Claus Series-A |
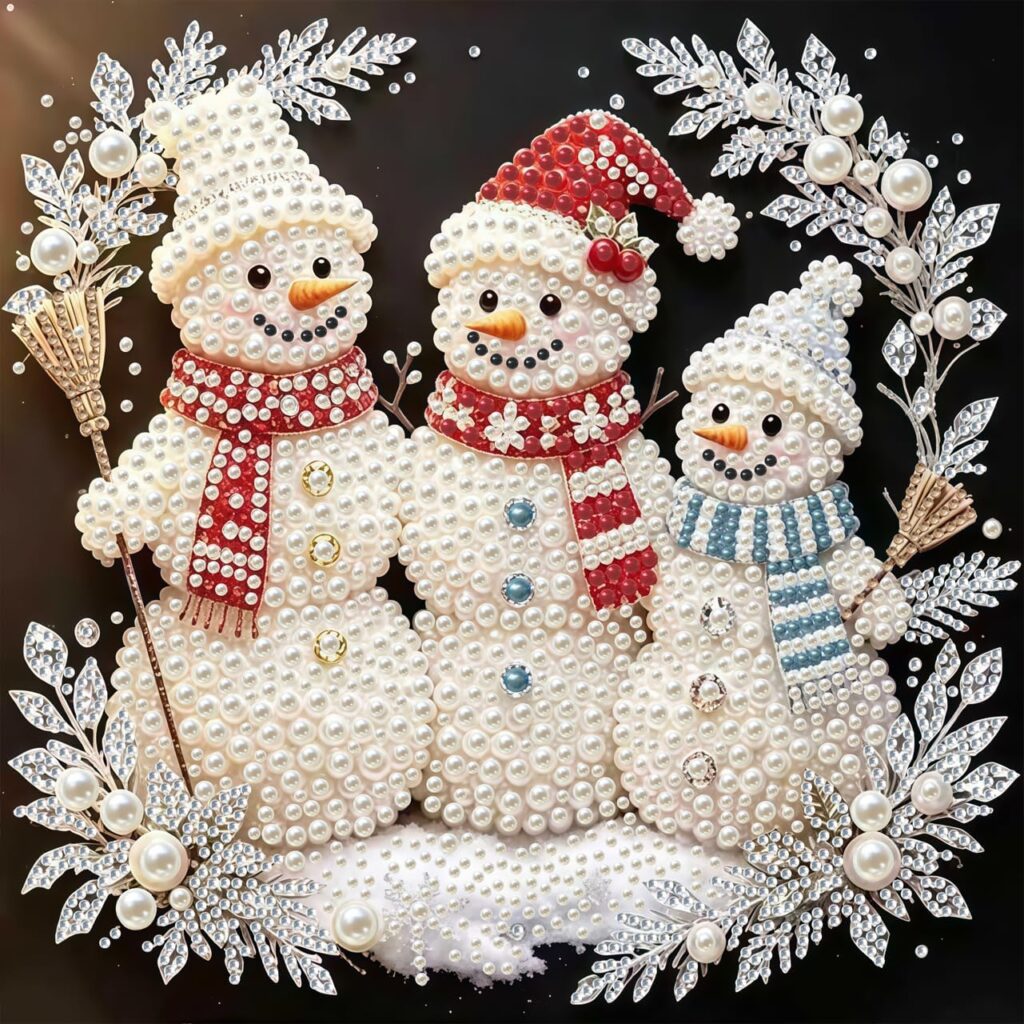
| Something whimsical and family-friendly | Character design, moderate detail | Christmas Pearl Diamond Painting Art Kit — DIY Snowman |
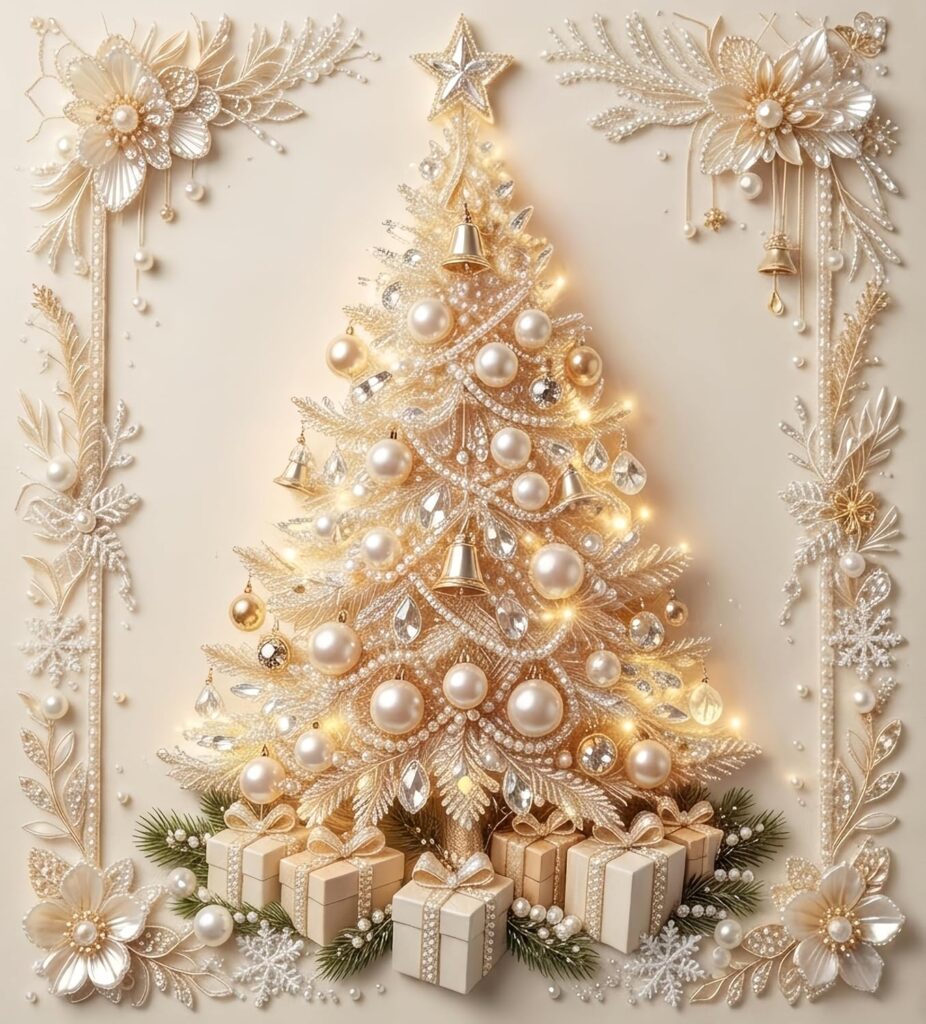
| A small project finished in one evening | Hanging pendant or ornament format | Christmas Diamond Painting Hanging Pendant — Christmas Tree |
| To practice before the holiday pieces | Off-season design, lower stakes | Halloween Pearl Diamond Art Kit — Ghost & Pumpkin |
That last row is a genuinely useful trick. Starting with an off-season kit in September or October means your first attempt is not the piece you care most about. By December you know the technique, and your christmas diamond painting for beginners project goes smoothly.
A finished diamond painting catches light differently depending on where it hangs. Near a window or opposite a lamp, the facets do the work; in a dim hallway, even a well-made piece looks flat. Hold the canvas at the intended height and step back a few feet before committing to a spot.
For gifting, the piece lands hardest when it is already framed — it reads as a finished object rather than a craft project, and the recipient does not have to source a frame. Add a short note about the design and roughly how long it took; people consistently underestimate the hours involved.
Smaller formats — ornaments and hanging pendants — work well as standalone gifts, especially as tree decorations that come back out every year. They also suit younger crafters, since the time commitment is measured in hours rather than evenings.
Is diamond painting difficult for beginners? No — it is one of the most accessible crafts available. If you can match a symbol to a color, you can complete a kit. The learning curve is mostly about finding a comfortable rhythm and keeping the canvas clean.
How long does a Christmas diamond painting take? A compact 12 x 12 inch kit usually runs six to fifteen hours of relaxed work, depending on bead size and detail. Ornament and pendant formats often finish in one to three hours.
What is the difference between pearl and regular diamond painting? Regular kits use uniform flat resin drills with faceted tops. Pearl kits use rounded beads, often in mixed sizes, producing a softer glow and a slightly raised, textured surface. Pearl kits take a little longer per square inch.
Do I need to seal my finished piece? Not required, but recommended for anything you plan to keep for years. Sealant locks beads against dust and humidity and makes cleaning easier. Framed pieces behind glass need it less.
Can children do Christmas diamond painting kits? Yes, with supervision. The beads are small, so most crafters suggest age six and up with an adult present, and a simple ornament kit beats a full canvas as a starting point.
What should I do if I run out of beads? Running short is uncommon, since most kits include a margin. If it happens, contact the seller with your kit name and the bead code from the legend — reputable shops ship replacements rather than selling you a new kit.
The best time to begin a holiday project is earlier than feels necessary. Starting now means no racing the calendar, short unhurried sessions, and a finished piece ready well before the decorations go up.
Pick a design that makes you smile, set up a flat surface with decent light, and commit to one section on the first day. The rest takes care of itself — most people who open a kit expecting twenty minutes are still there two hours later.
Browse the Christmas collection, start with a compact framed kit, and let the first one be imperfect. The second always turns out better, and by December you will have holiday decor nobody believes you made yourself.