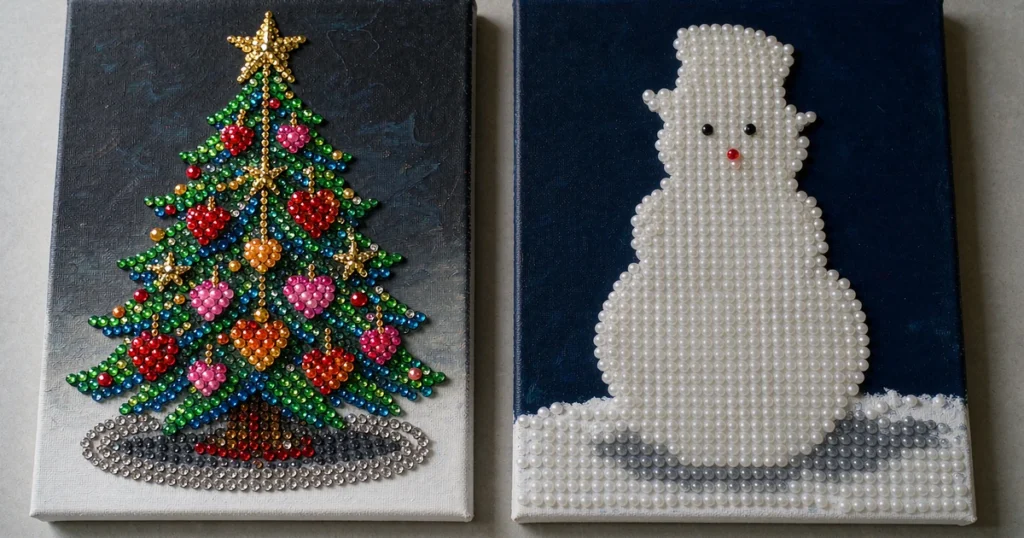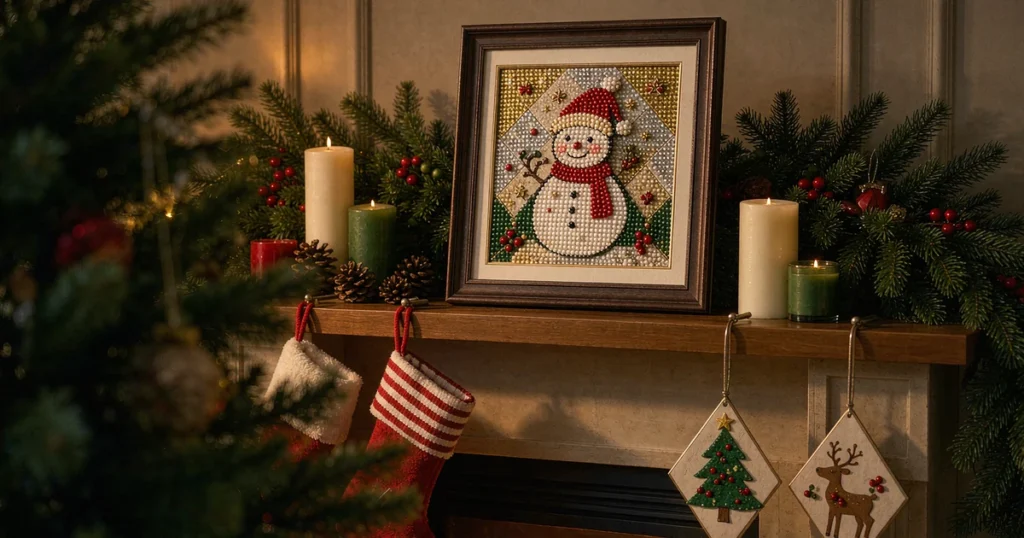


Christmas diamond art has a reputation problem. Search it and you’ll be told it’s “relaxing, simple, and anyone can do it.” Two thirds of that is true.
The “simple” part deserves a caveat. Diamond painting is genuinely beginner-friendly — but the first hour is the hardest hour, and most guides skip it. That’s the hour where your pen won’t pick up beads, where the symbols look like noise, and where a lot of first-timers quietly put the kit back in the box.
This guide is built to get you past that hour. It’s written for adults buying their first Christmas kit — specifically the person who’s never done a craft kit since school and wants to know whether this is actually for them before spending more than $10.
If you want the broad orientation to the craft — what it is, why people find it calming, the wider format landscape — our complete beginner’s guide to diamond painting covers that ground. And if you’re still choosing between starter kits generally, best starter kits for adults handles the comparison shopping. This article is narrower: Christmas-specific, first-kit-specific, and focused on getting to a finished object.
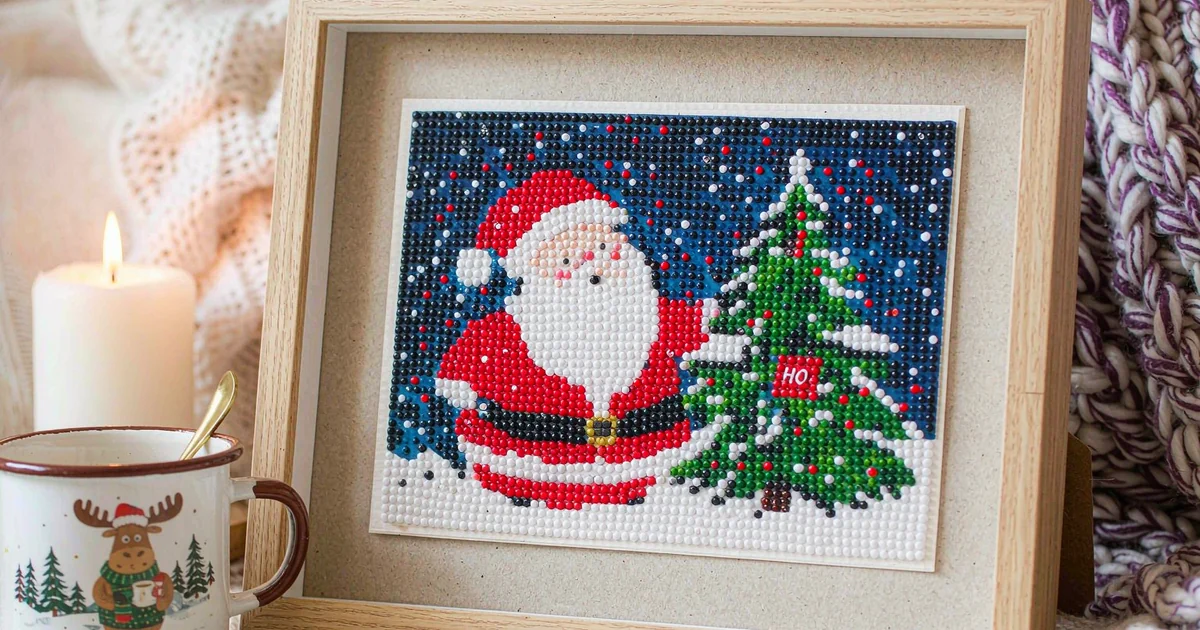
There’s a practical argument for starting with a Christmas kit rather than a generic one.
1. The deadline is doing your decision-making for you. A seasonal project has a natural endpoint. A generic canvas can sit unfinished for a year — a Christmas one gets finished because December is coming.
2. Seasonal designs are structurally simpler. Christmas imagery is high-contrast and iconographic: a snowman is white on dark, a Santa is red and white, a tree is green on dark. High-contrast, low-color-count designs are dramatically easier for beginners than photographic or gradient-heavy designs.
3. High-contrast means visible progress. The single biggest motivation factor in a first project is seeing it work. Christmas designs show progress fast.
4. It’s the highest-value first project. Whatever you make in your first week becomes a decoration you keep. Starting with a Christmas kit means your learning project is also a piece of your home.
Ignore aesthetics for thirty seconds. Judge a beginner kit on these five things, in this order.
This is the most important criterion and the most commonly violated.
| Canvas Size | Time (Beginner) | Verdict for a First Kit |
|---|---|---|
| Under 8×8 in | 1–2 hours | Too short — you won’t learn the technique |
| 8×8 to 12×12 in | 4–6 hours | The sweet spot |
| 12×12 to 16×20 in | 8–15 hours | Doable but risky for a first project |
| Over 16×20 in | 20+ hours | Do not start here |
A 12×12 in framed kit takes about two evenings at a comfortable pace. That’s long enough to be a real project and short enough to finish.
For a first Christmas project, partial drill is often the smarter pick — you finish faster and get to the satisfying result sooner. Full drill gives a more impressive finished piece. Neither is wrong; partial is lower-risk.
Zoom into the product photo and look at the canvas itself, not the finished art. Symbol clarity on the listing photo predicts clarity on the real canvas. You want bold, dark symbols on a light background.
If the symbols look cramped in the product image, they will be worse in person.
20–35 colors is the comfortable beginner range. Above 40 and progress slows noticeably because you’re constantly switching trays. Christmas designs naturally sit in a low range, which is one more reason they’re a good first choice.
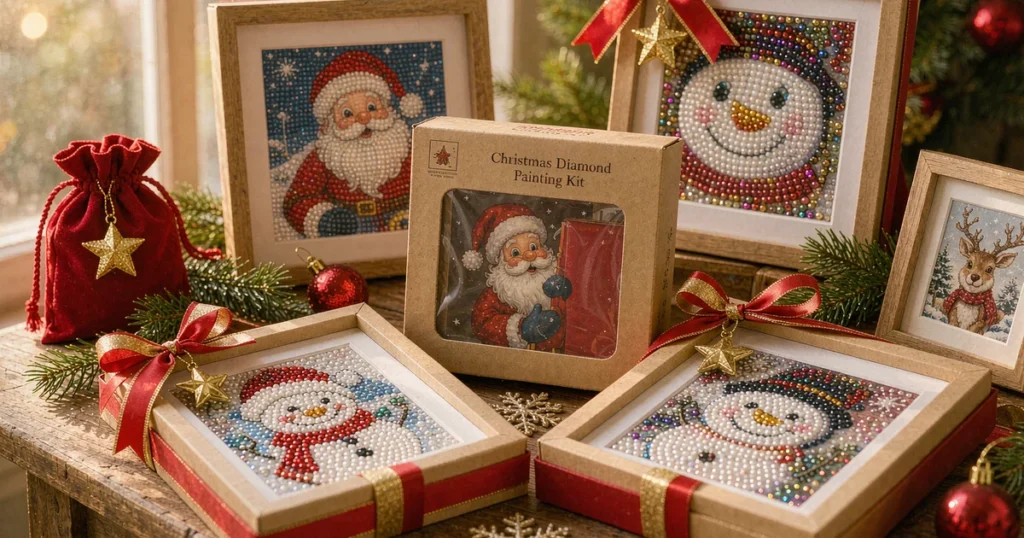
Check that it includes: applicator pen, wax, sorting tray, printed symbol chart, and spare beads. Missing tools is the single most common reason a first project stalls. A kit that ships with a frame is a bonus — it means no trip to a craft store after you finish.
A note on pearl vs. standard drills for beginners: pearl beads are round and self-centering, so they’re more forgiving of imprecise placement than square resin drills. For a first project, pearl is the gentler entry.
If you want the decision made:
The safest first Christmas kit: Pearl Kit with Frame — DIY Snowman-A ($9.99)
Why: a 12×12 in framed kit with a high-contrast white-on-dark design, low color count, pearl beads (self-centering), and the frame included so there’s nothing to shop for afterward. For a first project, every one of those factors reduces risk.
Other strong first picks:
If you’d rather work with a smaller unit, a 6-piece coaster set is arguably the most forgiving first project of all, because each coaster completes in about an hour.
This is the section most guides omit. Follow it in order.
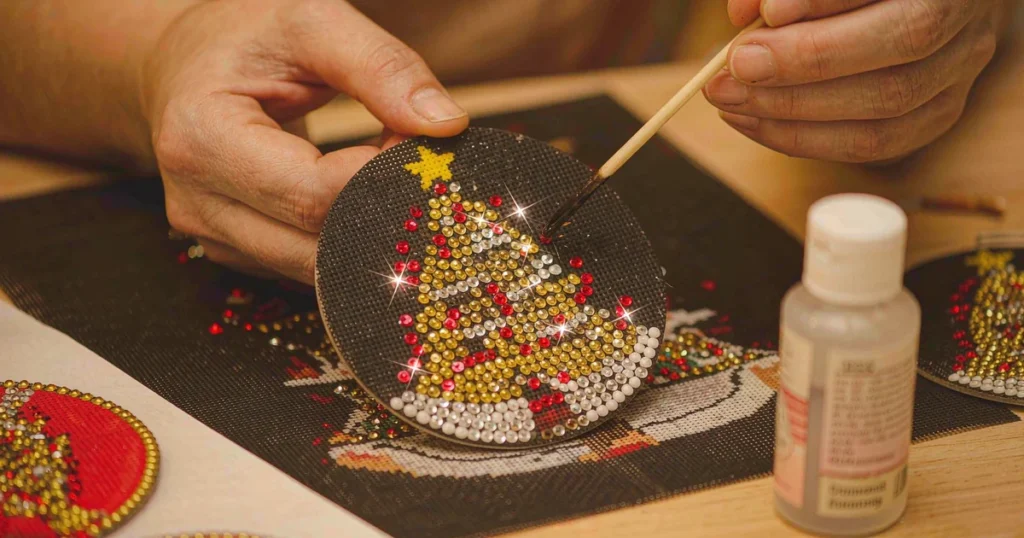
Here’s the thing nobody explains: the pen won’t pick up beads without wax, and the wax has to be prepared correctly.
Most “this pen doesn’t work” complaints are a wax setup issue, not a product defect.
Peel only the section you’re working on. Do not remove the full protective film.
On a fabric canvas, a fully exposed adhesive layer collects dust and stray beads and degrades over time. Section peeling is the technique that separates a clean finished piece from a dust-speckled one. Peel back a corner, work that area, then peel more.
Start in the middle of your first color region and work outward.
Why this order matters: placement error accumulates. Working center-out pushes any misalignment to the outer edges where it’s less noticeable. Working corner-in gathers all the error at the end, in a visible line.
The rhythm is: press the pen onto a bead, lift, place on the matching symbol, press down lightly. Don’t press hard — pearls and drills settle with a light touch, and pressing bends the canvas.
These are the real ones, in rough order of frequency.
1. Buying too big. The single biggest cause of unfinished projects. A 16×20 in kit is a 15-hour commitment. Start at 12×12 in.
2. Not setting up the wax. Covered above — it’s the most common “I think this is broken” moment, and it isn’t the product.
3. Removing the whole protective film. Causes dust contamination, degraded adhesive, and a finished piece that looks dirty. Peel in sections.
4. Working in poor light. This is underrated. Bead symbols are small; eye strain is what makes people stop at minute 90. Work near a lamp, ideally in daylight hours for your first session.
5. Not finishing the last 5%. Sealing and displaying is part of the project. A completed canvas left unframed and unsealed in a drawer is an unfinished project. Budget twenty minutes for the finish.
Your kit isn’t done when the last bead is placed. Three steps remain:
Full detail on this stage is in our guide to sealing and displaying a finished diamond painting.
Q: Is diamond painting actually easy enough for a total beginner? A: Yes — the technique is simple. The first hour is the hardest because of wax setup and unfamiliarity with the symbols. Past that, it’s repetitive in a good way.
Q: How long does a first Christmas kit take? A: A 12×12 in framed kit runs 4–6 hours for a first-timer, normally across two evenings. A single coaster takes about an hour.
Q: Do I need to buy extra tools? A: No, if the kit is complete. Look for a kit that includes the pen, wax, sorting tray, and chart. You may want tweezers for corrections, but they’re optional.
Q: Is diamond painting suitable for older adults? A: Yes, with attention to lighting and eye strain. Choose bold, high-contrast designs with low color counts, take breaks, and work under good light. The fine motor demand is low.
Q: Pearl beads or regular drills for a first kit? A: Pearl. Round beads self-center, so they’re more forgiving of slightly imprecise placement. Square drills require precise alignment.
Q: What if I make a mistake? A: Move the bead. Within the first hour or two the adhesive is still soft enough to lift a bead with tweezers and reposition it. Past that, it’s set — but small errors are genuinely invisible in the finished piece.
Q: Can I do this while watching TV? A: Yes — this is one of the few crafts that pairs well with low-attention background TV. Just keep decent light on the canvas. For your first session, though, work without distraction while you internalize the symbol chart.
Q: How do I know if I’ll enjoy it before buying? A: Start with the cheapest complete kit you can find — a coaster set or an $8.99 framed kit. If you enjoy the first hour, you’ll enjoy the format. Your financial risk is one coffee.
Christmas diamond art is a craft with a steep first hour and a flat learning curve after. Everything difficult happens in the first sixty minutes: wax, symbols, section peeling, light. Get past that, and the remaining hours are the relaxing part you were promised.
So pick a 12×12 in framed kit, set up your surface, and give it one honest session. Most people know by the end of the first hour whether this is their kind of quiet.
🎄 Start with the Christmas diamond painting collection — the Snowman-A framed pearl kit is the safest first pick.
Not sure which kit to start with? The Christmas collection page sorts kits by difficulty and format, so you can pick a first project that matches your available time.