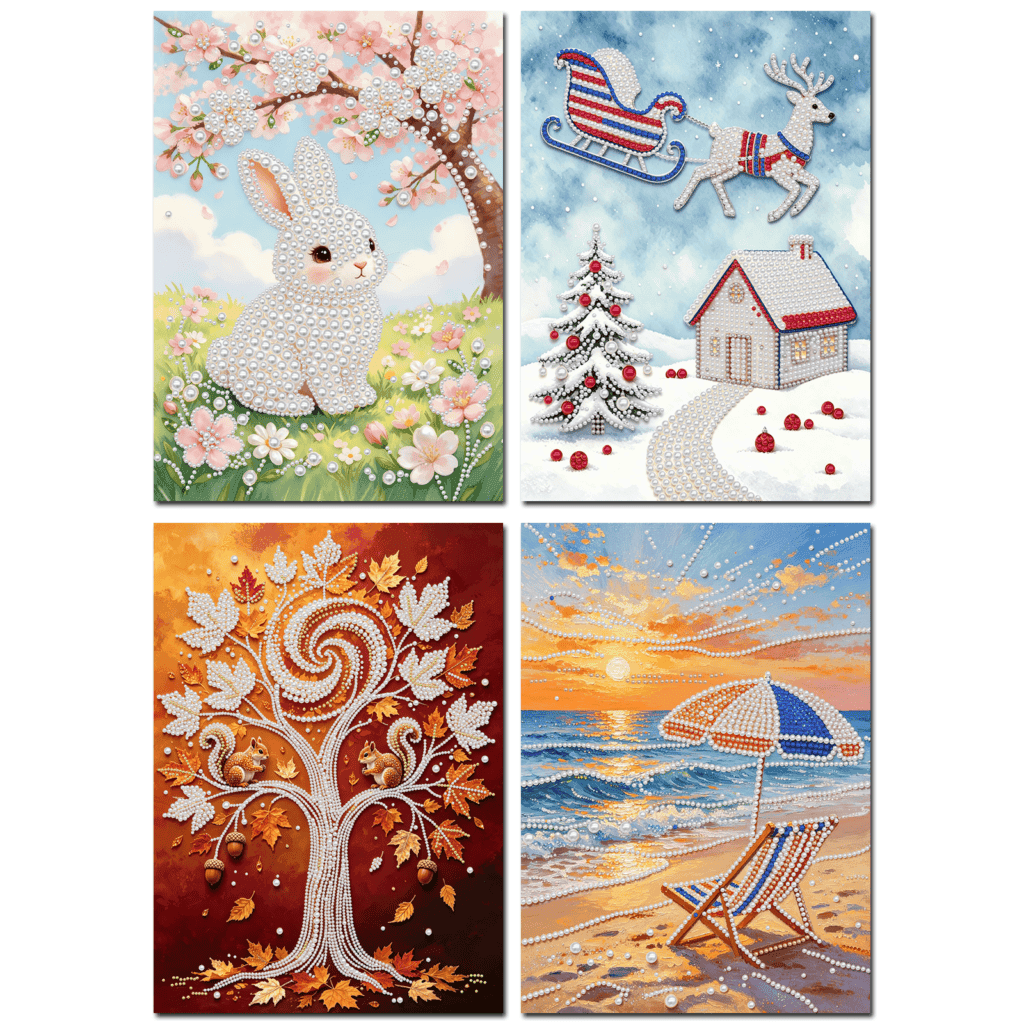
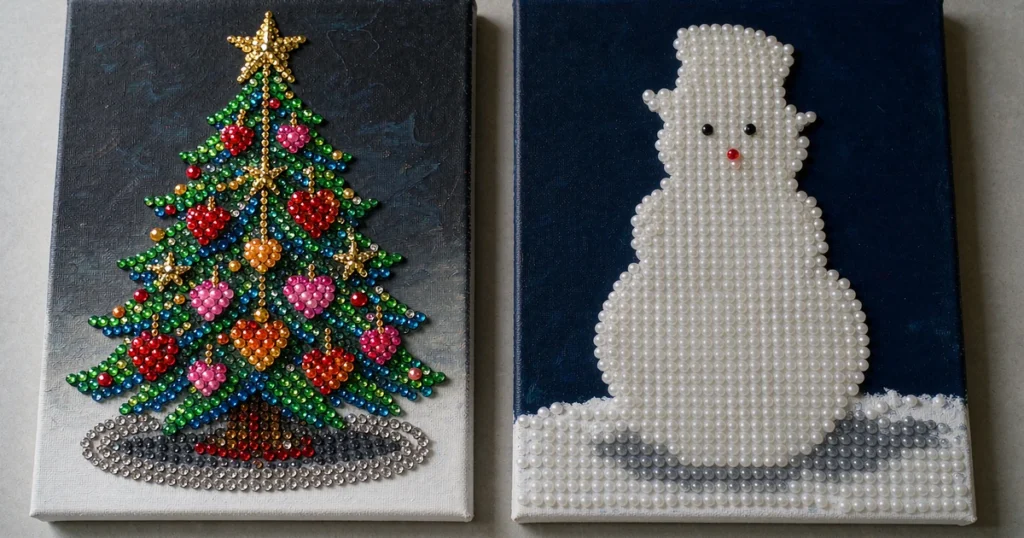
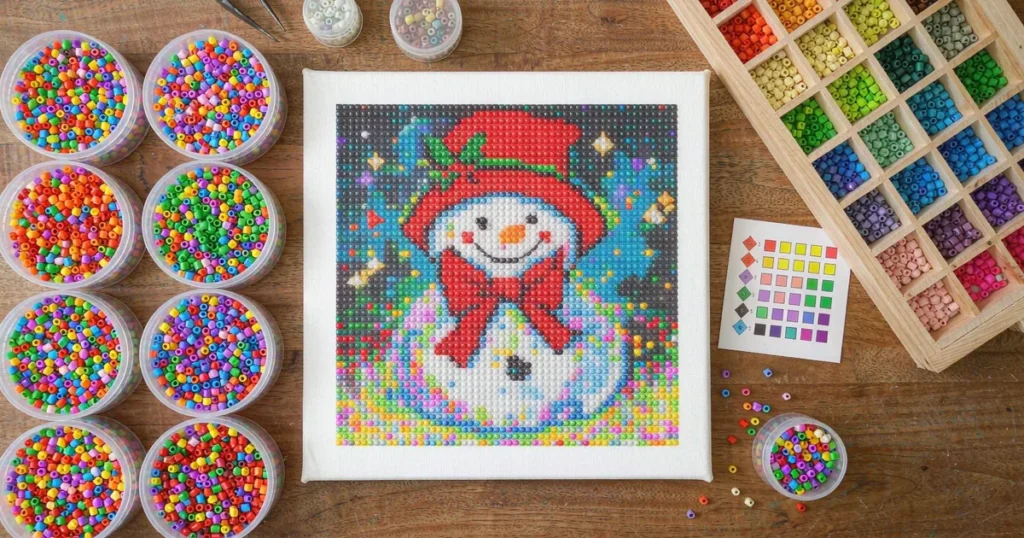
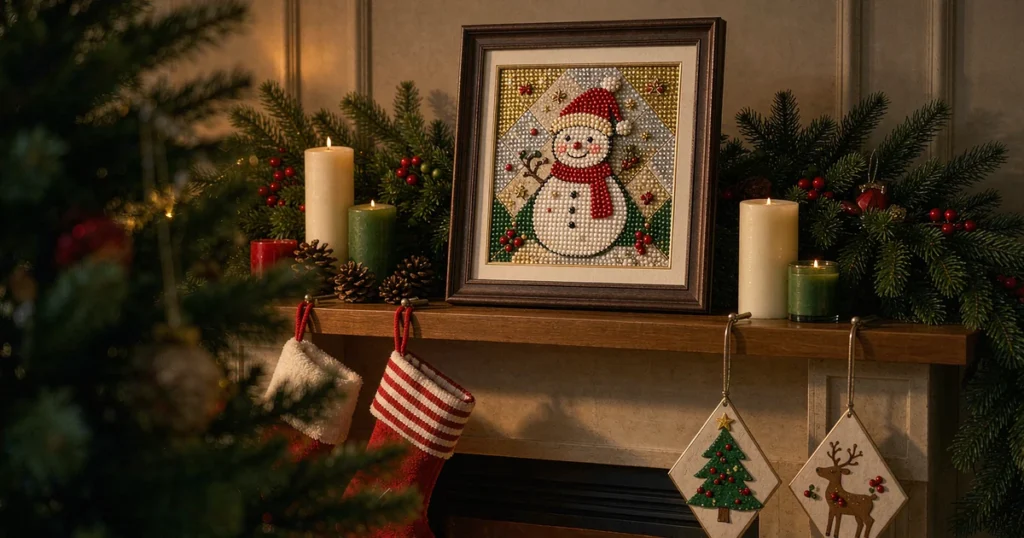
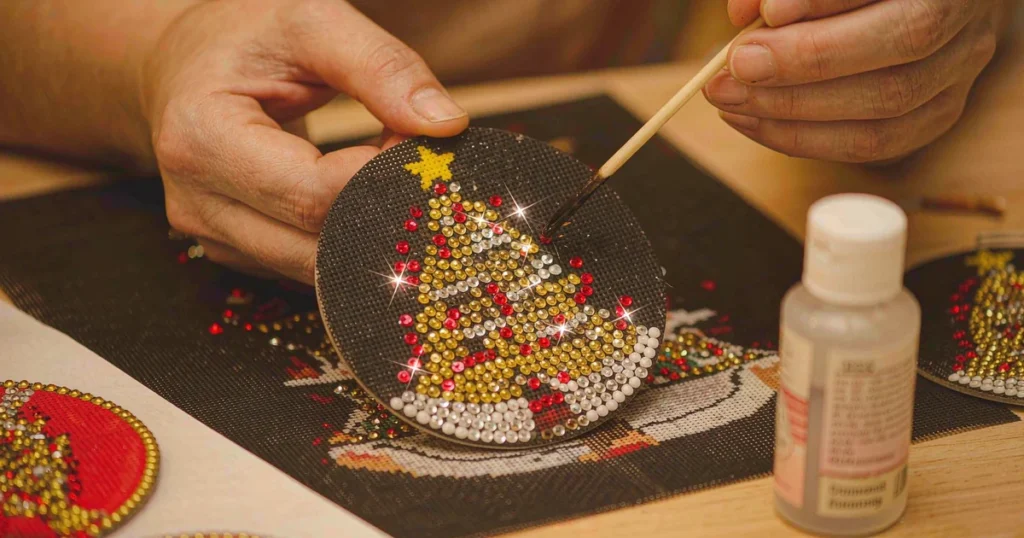
There is a very specific kind of December evening. The tree is lit, the kitchen still smells faintly of cinnamon, and you want something to do with your hands that feels festive without swallowing an entire weekend. Scrolling does not count. A 3D Christmas House Diamond Painting Kit fits that evening almost perfectly: it is small enough to finish over two or three sittings, structured enough to feel like progress from the first dot, and the result is not a flat canvas you have to find wall space for — it is a little building that stands up on your mantel and catches the light.
If you have only ever done flat diamond painting, the 3D format is a genuine step up. You still get the same slow, quietly absorbing rhythm of picking up a resin diamond and pressing it into place. But at the end you fold the panels into a cottage, a coffee shop, or a Santa house, and it becomes part of a Christmas village you can add to year after year.
This guide covers what a 3D kit contains, how to assemble one without warping the panels, how it compares to a flat Christmas canvas, and where to display a finished village so it looks intentional instead of scattered.
A traditional diamond painting kit gives you one flat, adhesive canvas covered in a printed code chart. You match resin diamonds to symbols, then frame or seal the result.
A 3D Christmas House Diamond Painting Kit works on the same principle but changes the substrate. Instead of one sheet, you get several pre-printed panels — usually the walls, the roof sections, and a base or gable piece. Each panel carries its own symbol chart. You diamond them flat, one at a time, then fold along the scored lines and lock the tabs together so the panels become a freestanding structure with real depth.
Most kits arrive with everything needed in the box:
The practical difference matters: a flat canvas is wall art, while a 3D house is shelf art — which opens up far more display space in a home that already has every wall spoken for in December.
Learning how to assemble a 3D diamond painting house is not difficult, but the order of operations matters. The most common mistake is folding too early. Diamond all the panels while they are still flat, then build.
Work on a hard, clean table rather than a sofa or a bed. You want firm pressure when you press diamonds down, and you want the panels to stay flat until assembly. A daylight bulb or small craft lamp makes a real difference when you are matching similar shades of green or red.
Lay the panels out against the code chart before opening any packets. Knowing which panel is the roof and which is the front wall prevents the one error that is genuinely annoying to fix later: diamonds placed upside down on a piece that ends up highly visible.
Peel the protective film back in sections, not all at once. Exposed adhesive collects dust and lint, and a panel left uncovered for three days will not grab diamonds as firmly.
Work one color across one panel at a time. This is faster than it sounds, because you keep the same packet open and the same tray loaded. Finish a panel, press it under a clean sheet of paper or a flat book to seat every diamond, then move on.
Leave the fold lines and tab areas as bare canvas. Diamonds placed across a scored edge will either crack under the fold or stop the panel from bending cleanly, and tabs need bare canvas to grip when they lock.
Fold along the scored lines gently, working from one end to the other rather than creasing the whole length at once. Insert the locking tabs in the order the instructions show — usually base first, then walls, then the roof last.
If a tab feels resistant, do not force it. Nine times out of ten a diamond has drifted a millimetre too close to the tab slot. Nudge it back with the pen tip and the tab will seat.
This is the step people skip, and it is the one that separates “nice craft” from “where did you get that?” Place a battery tea light or a short strip of warm micro-LEDs inside the finished house. Resin diamonds are faceted to throw light, and from inside the structure the walls glow through the gaps between stones.
Then leave it alone for a day before moving it. The adhesive keeps setting, and a little patience here means fewer diamonds popping off when you rearrange the village in week two.
Tip: Keep the whole village assembled in one lidded storage box with tissue between the pieces — it takes far less space than framed canvases.
Neither format is better; they simply solve different problems. Here is the honest comparison:
| What matters | 3D Christmas House Diamond Painting Kit | Flat Christmas diamond painting |
|---|---|---|
| Finished form | Freestanding building with real depth | Flat artwork, needs a frame or wall |
| Time to finish | 3–6 hours over a few sittings | 10–30+ hours, depending on canvas size |
| Display footprint | Shelf, mantel, console, under the tree | Wall space |
| Storage after the season | Assembled in one box, or flat-packed | Rolled or framed; bulkier to store |
| Collectability | Add a house each year, build a village | One finished statement piece |
| Gift factor | Reads as a decoration, not a project | Recipient still has to frame it |
| Best for | Small homes, gifting, family crafting | Feature walls, serious collectors |
If your December goal is a calm evening ritual plus a decoration you can put out on the first of the month, the 3D format wins. If your goal is one big piece of art to hang for years, a full-size canvas is still the right call.
The best Christmas village diamond painting display ideas start from a simple principle: group odd numbers, vary the heights, and give the village somewhere to “live” rather than scattering it evenly across the house.
The mantel row. Three houses in a line, tallest in the middle, with faux snow or a garland behind them. The mantel is the classic spot because the houses sit just below eye level and the firelight bounces off the diamonds.
The entry console. One or two houses beside a bowl of ornaments. This is the highest-traffic spot in the house in December, and visitors always notice it.
Under the tree. A single house tucked among the presents turns the tree skirt into a scene — and it solves the awkward bare patch that appears once half the gifts are opened.
A child’s bookshelf. A 3D house survives life on a kid’s shelf: no glass, no frame, no sharp corners.
For more room-by-room thinking, see Christmas diamond painting ideas for home decor, and how to seal and display a diamond painting safely for finishing flat pieces.
Start with the shape of the village you want. Most people build around a centrepiece, then add neighbours over the years, and the eight-house 3D Christmas House range covers every classic role.
If you want an instant centrepiece, start with the 3D Christmas House Diamond Painting Kit – Christmas Tree. The tree form reads clearly from across a room, and the green-and-gold palette works with almost any existing decor.
If you want the most “village” per dollar, the 3D Christmas House Diamond Painting Kit – Coffee Shop is the natural second purchase. A coffee shop beside a tree house stops looking like two crafts and starts looking like a street.
If you are gifting or crafting with kids, the 3D Christmas House Diamond Painting Kit – Santa Claus has the friendliest silhouette and the most forgiving color blocks — fewer near-identical shades to squint at.
One upgrade worth considering: pair a house with a Christmas Hand-Crank Music Box. A wind-up carol behind a lit village is the detail guests remember.
Every house arrives gift-ready with panels, resin diamonds, tray, pen, wax, and instructions included — nothing to buy separately. Browse the full lineup in the DOTZSO Christmas collection.
Do I need diamond painting experience before trying a 3D kit? No. The panels are smaller than a full canvas, which makes them easier as a first project — you finish a panel in one sitting, which keeps motivation high.
How long does one house take? Plan on three to six hours of relaxed crafting, usually over two or three evenings. Roughly a quarter of the time a mid-size flat canvas takes.
Can I take the house apart for storage? The tabs lock rather than glue, so you can release them and store the panels flat. Wrap them in tissue so the diamonds do not rub.
Are the diamonds the same quality as in regular kits? Yes — the same faceted resin drills, just in smaller quantities per color. Sorting is faster because there are fewer shades per panel.
Do I need glue or sealant? Not for assembly. A light sealant is optional, and mainly useful if the house will be handled often.
Can children help? Yes, with supervision. The fold-and-lock assembly suits kids aged eight and up, and there is no glass or sharp hardware.
How many houses make a village? Three looks deliberate, five looks like a streetscape.
A flat canvas asks you to find wall space. A 3D Christmas House Diamond Painting Kit asks for a shelf, a mantel, or the corner of a console table — and in exchange it gives you a decoration you built yourself, one that comes back out every December with a little more history attached.
That is what the season is good for: a few quiet evenings where the only decision is which color goes next.
Ready to create your own relaxing moment? Explore the DOTZSO Christmas collection and start your first house this week — there is still time to finish it before the tree goes up.
Create Your Relaxing Moment — one diamond at a time.